A dull pruning tool doesn’t just make cutting harder – it crushes and tears plant tissue instead of slicing through it cleanly, which slows the plant’s healing and leaves an open wound more vulnerable to disease. Sharpening your shears and loppers a couple of times a season is one of the cheapest things you can do for your plants’ health, and it takes less time than most people expect once you know the technique.
Bypass vs. Anvil: Know Which Blade You’re Actually Sharpening
This is the step most guides skip, and it’s the reason a lot of DIY sharpening jobs go wrong. Most pruning shears and loppers use a bypass action: one sharp, beveled blade slides past a flat “anvil” blade like a pair of scissors. Only the beveled blade gets sharpened – the flat blade stays flat, and sharpening it will actually ruin the tool’s fit. True anvil-style pruners work differently: a single blade closes straight down onto a flat anvil surface, more like a knife hitting a cutting board, and that blade is beveled on both sides like an axe head.
Before you sharpen anything, close the tool partway and look closely at the blade. If one side is flat and the other has a visible angled bevel, it’s bypass – sharpen only the beveled side. If the blade looks symmetrical, coming to a point in the middle like a “V,” it’s anvil – sharpen both sides evenly.
What You’ll Need
To clean: a lubricant like WD-40 and 0000 steel wool or a stiff brush. Don’t use soap and water – moisture left on the steel invites rust, which is exactly what you’re trying to prevent by maintaining the tool in the first place.
To sharpen: a diamond sharpening stone or file. For pruning shears and smaller loppers, a portable diamond file works well and is easy to control in one hand:
The SHARPAL 121N is a dual-grit diamond file (325 coarse / 1200 extra-fine) built specifically for garden tools, sized to handle in one hand while you sharpen with the other. Use the coarse side first if the edge is genuinely dull or nicked, then switch to the fine side to refine and polish the edge. It sharpens dry – no oil needed, which keeps the process simpler.
For larger loppers, or if you’d rather work with the tool braced flat on a bench, a larger stone gives you more surface to work with:
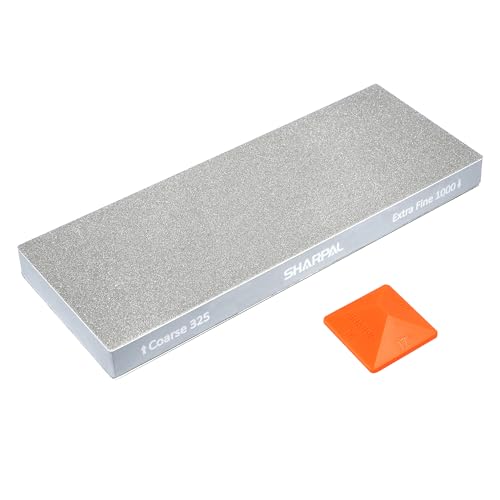
The SHARPAL 168H is an 8″ x 3″ dual-grit diamond bench stone (325 coarse / 1000 extra-fine). It’s larger and more stable than a handheld file, which makes it easier to maintain a consistent angle across a longer lopper blade, though it’s less convenient to carry out to the garden with you than the 121N.
Also useful: work gloves, eye protection, a screwdriver if your tool comes apart, and a light oil (mineral, linseed, or 3-in-1) for the pivot joint afterward.
Step-by-Step: Sharpening Bypass Pruners and Loppers
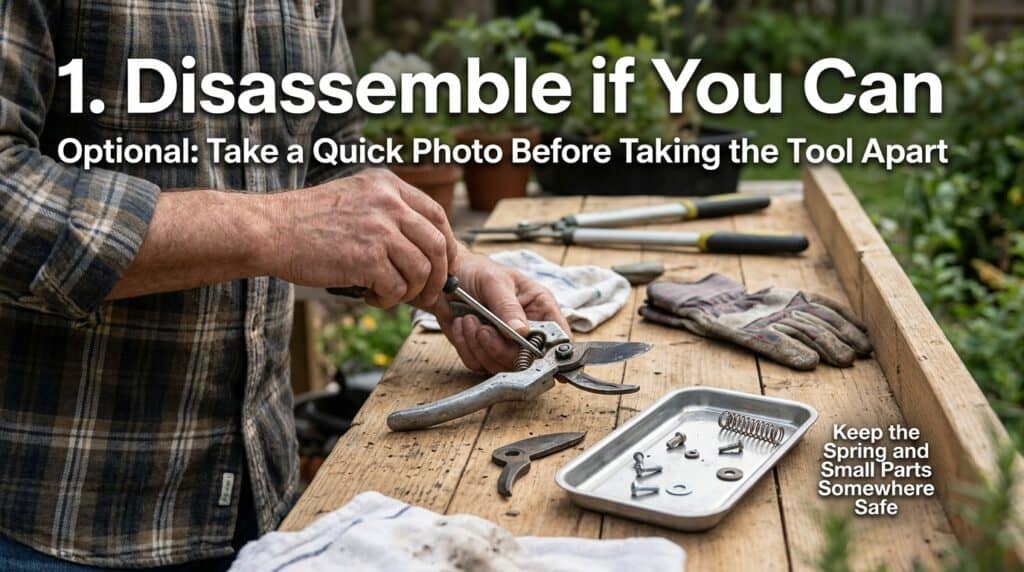
1. Disassemble if you can (optional). Not every tool comes apart easily, and some are riveted rather than bolted. If yours does come apart, take a quick photo first so you remember how it goes back together, and keep the spring and any small parts somewhere they won’t roll away.
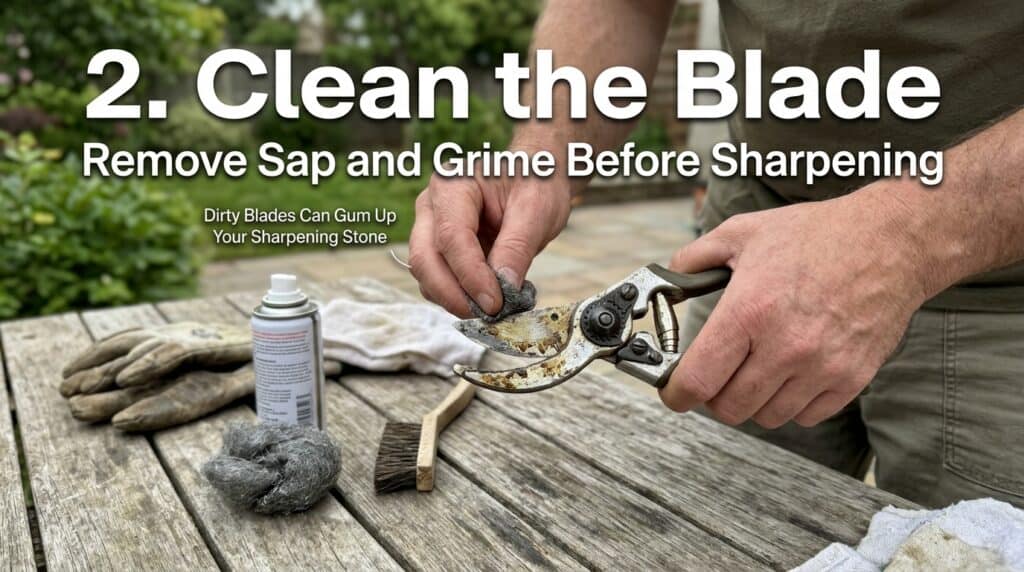
2. Clean the blade. Spray the lubricant onto the blade and wipe away sap and grime with the steel wool or a brush. This step matters more than people expect – trying to sharpen through caked-on sap just gums up your stone and produces an uneven edge.
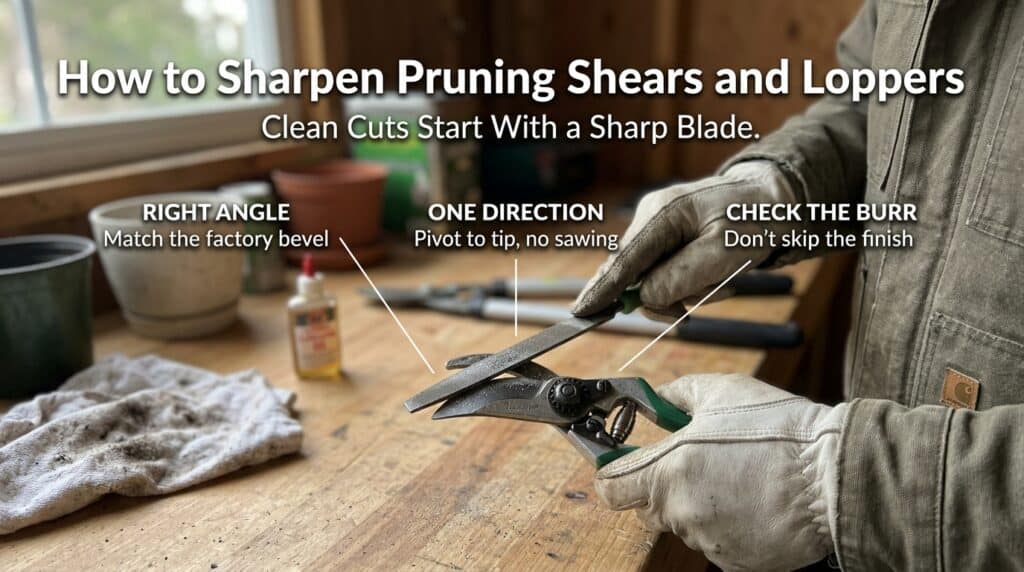
3. Find the bevel angle. Most pruning shears and loppers use a bevel angle of roughly 20-25 degrees. Rather than measuring it, match the angle the factory already ground into the blade – tilt the stone until it sits flush against the existing bevel.
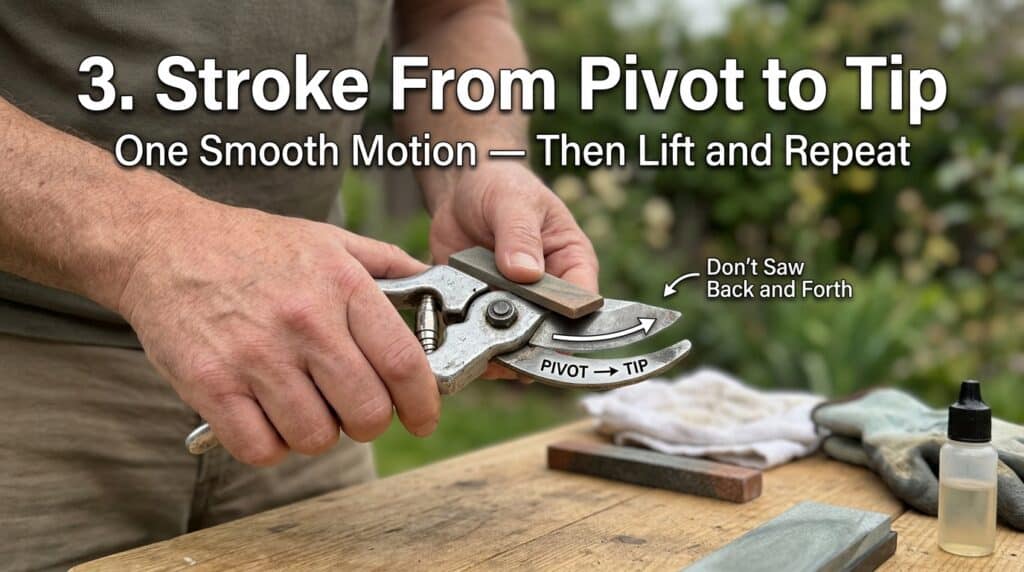
4. Stroke from pivot to tip, one direction only. Starting at the pivot end of the blade, draw the stone or file across the bevel toward the tip in a single smooth motion, then lift it away and repeat – don’t saw back and forth. Back-and-forth strokes are the single most common mistake here, and they roll and nick the edge instead of refining it. A handful of passes on the coarse grit, followed by a handful on the fine grit, is usually enough for routine maintenance.
5. Check for a burr, and remove it. Sharpening one side of the blade tends to push up a tiny burr of metal on the back, flat side. Run the stone flat against just that back side once or twice, very lightly, to knock the burr off – don’t re-bevel it.
6. Reassemble and oil. Put the tool back together if you took it apart, then put a drop of oil on the pivot bolt and work it in by opening and closing the tool a few times. Wipe a light coat of oil onto the blade itself too – it protects the freshly sharpened steel from rust and keeps sap from sticking as much next time.
Sharpening Anvil-Style Pruners
The core technique is the same – clean first, match the existing angle, stroke in one direction, finish with oil – but since an anvil blade is beveled on both sides, you’ll sharpen both faces evenly rather than just one. Work one side, flip the tool, and match the same number of strokes on the other side so the edge stays centered rather than sharpened crooked to one side.
How to Tell If It’s Actually Sharp
Skip guessing and just test it: snip a small green stem or a piece of cardboard. A properly sharpened blade leaves a clean, angled cut with no ragged edges. If the material looks crushed, torn, or bruised rather than cleanly sliced, the blade needs more work, or the two halves of the tool aren’t closing tightly enough against each other anymore.
How Often to Sharpen
There’s no fixed schedule that fits everyone – it depends on how much you’re cutting and what you’re cutting. As a rough guide: light, occasional deadheading might only need a touch-up once a season, while frequent pruning of woody stems or thicker branches can dull an edge within a few weeks of regular use. The cut test above is a better indicator than a calendar – if cuts start looking crushed instead of clean, it’s time.
Common Mistakes
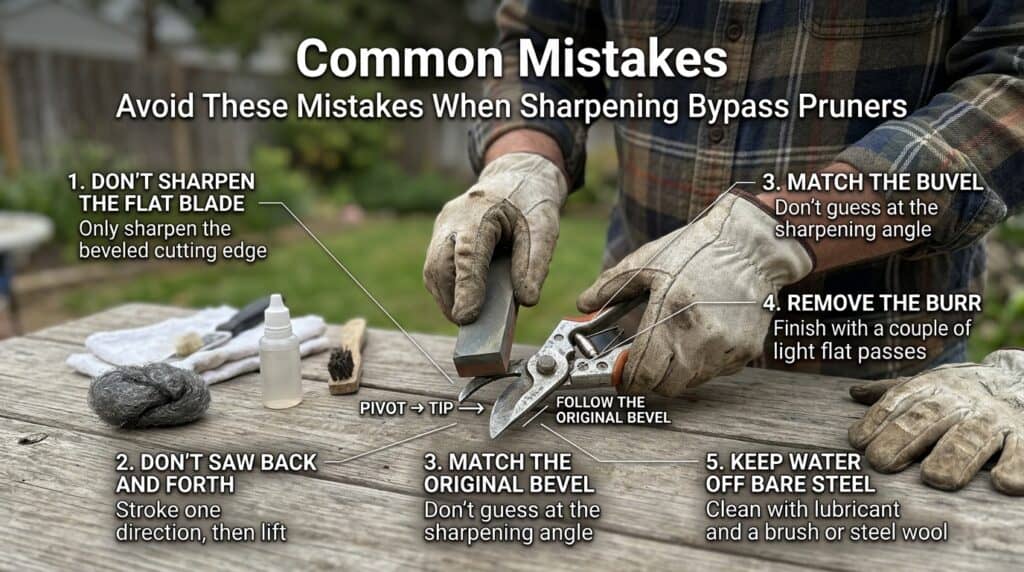
Sharpening the flat anvil-side blade on a bypass tool. Only the beveled blade gets sharpened. Filing the flat blade ruins the precise fit the two blades need to slide past each other cleanly.
Sawing back and forth. This rolls and nicks the edge instead of refining it. Stroke in one direction, pivot to tip, and lift the stone away before the next pass.
Guessing at the angle instead of matching the factory bevel. Too steep an angle rolls the edge over quickly; too shallow won’t actually cut. The original bevel is usually the best guide unless the blade has serious damage.
Skipping the burr removal. A blade can look sharp but still cut poorly if the burr on the back is left in place. A couple of light, flat passes on the back side fixes this.
Cleaning with soap and water. Moisture left on bare steel causes rust. Lubricant and steel wool or a brush get the job done without introducing water to the equation.
Frequently Asked Questions
Can you sharpen pruners without taking them apart?
Yes. Disassembly makes cleaning and control easier and lets you check the other parts while you’re in there, but it’s optional. Many bypass pruning shears sharpen just fine assembled, as long as you can angle the stone against the blade properly.
What angle should I sharpen pruning shears at?
Most pruning shears and loppers use roughly a 20-25 degree bevel. Rather than measuring precisely, match the angle already ground into the blade from the factory.
Why are my pruners still not cutting well after sharpening?
A few likely causes: a burr left on the back of the blade, the two blades no longer closing tightly against each other (sometimes fixable by adjusting the pivot bolt), or – on a bypass tool – accidentally sharpening the flat blade instead of the beveled one.
How often should you sharpen loppers?
It depends on use rather than a fixed interval – light seasonal use might need one touch-up a year, while regular cutting of thicker branches can dull an edge within weeks. Use the cut test (clean slice vs. crushed material) to decide rather than a calendar.
Can I use a regular knife sharpener on garden shears?
A basic knife sharpening stone can work in a pinch, but a dedicated garden tool file or diamond stone is built to handle the coarser, harder-use edges on pruning tools and will hold up better over repeated sharpening sessions.
Bottom Line
Clean before you sharpen, sharpen only the beveled edge on a bypass tool, stroke in one direction at the original bevel angle, and don’t skip the burr removal or the finishing oil. That’s the whole process – a few minutes of maintenance a couple of times a season keeps your cuts clean and your plants healing faster than they would from a dull, crushing blade.
If you’re shopping for new pruning shears or loppers rather than sharpening what you’ve got, our guide to the best pruning shears and loppers breaks down bypass vs. anvil options across budget and premium picks.