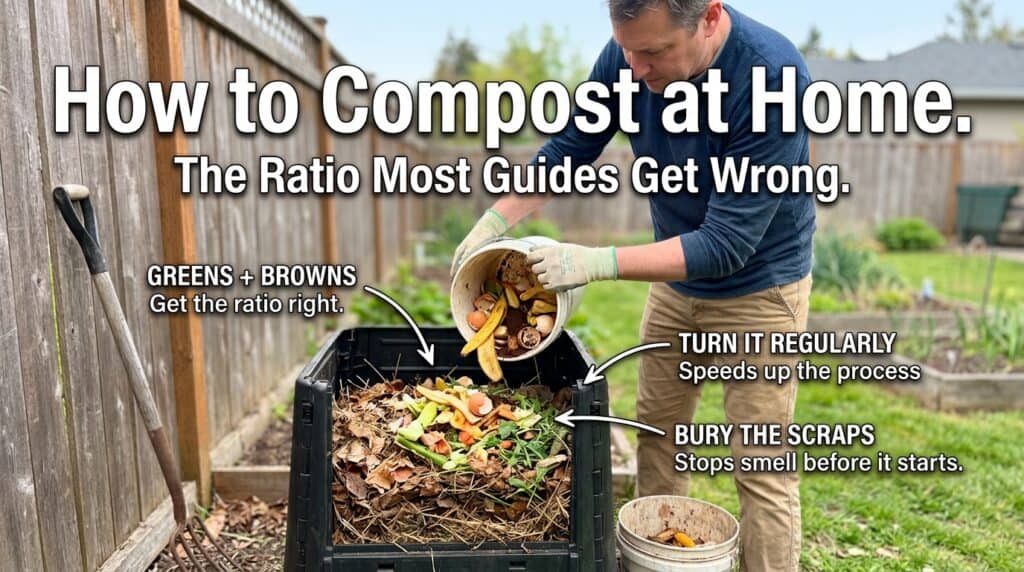
Most home compost piles fail for one reason: too much green, not enough brown. That’s the wrong mix behind almost every complaint people have about composting – it smells, it’s slimy, or it just sits there doing nothing for months. Composting itself isn’t hard. Getting the ratio right is the entire trick, and it’s the one thing most guides gesture at without ever giving a real number. This guide covers what actually goes in, the real ratio, how to fix it when something goes wrong, and which bin (if any) fits your space.
Greens vs. Browns – the Ratio That Actually Matters
Everything you add to a compost pile falls into one of two categories: greens (nitrogen-rich) or browns (carbon-rich). Both are necessary – decomposition is driven by microbes that need carbon for energy and nitrogen for growth – but the ratio between them is what determines whether your pile turns into rich soil or a smelly, slimy mess.
The target is roughly 2 to 3 parts browns for every 1 part greens, by volume (not weight – a pound of dry leaves takes up far more space than a pound of wet vegetable scraps). Most beginner piles go wrong by loading up on greens (kitchen scraps go in constantly, browns get added occasionally if at all), which is exactly why smell and slime are the most common complaints.
| Greens (Nitrogen) | Browns (Carbon) |
|---|---|
| Vegetable and fruit scraps | Dry leaves |
| Coffee grounds and filters | Shredded cardboard and newspaper |
| Fresh grass clippings | Straw or hay |
| Eggshells | Small twigs and woody trimmings |
A simple rule that solves most beginner problems on its own: every time you add a handful of kitchen scraps, add two to three handfuls of dry leaves or shredded cardboard on top. You’ll rarely need to do the math if you build that habit in from the start.
What NOT to Compost
- Meat, dairy, and oily food: attracts pests and creates strong odors even in a well-balanced pile.
- Diseased plants: most home compost piles don’t reach a high enough temperature for long enough to kill plant pathogens, so diseased material can reinfect your garden later.
- Pet waste: can carry parasites and pathogens that survive home composting temperatures.
- Glossy or coated paper: the coating doesn’t break down and can introduce chemicals into your finished compost.
- Weed seeds: like diseased plants, most home piles won’t get hot enough to kill weed seeds, so they can end up right back in your garden beds.
Hot vs. Cold Composting
Hot composting is actively managed: you build a large enough pile (at least 3×3 feet), turn it every 1-2 weeks, and keep the greens-to-browns ratio balanced. Done right, the pile’s core can reach 130-160°F, which speeds decomposition dramatically and can produce finished compost in a matter of weeks to a couple of months. It also kills more weed seeds and pathogens than cold composting, though still not with full reliability.
Cold composting is passive: pile up your greens and browns and leave it alone, turning occasionally or not at all. It takes much longer – six months to a year isn’t unusual – but requires almost no ongoing effort. Neither method is “correct.” Hot composting is the right choice if you want finished compost fast and don’t mind the maintenance; cold composting is the right choice if you’d rather set it and forget it.
Choosing a Bin (or No Bin at All)
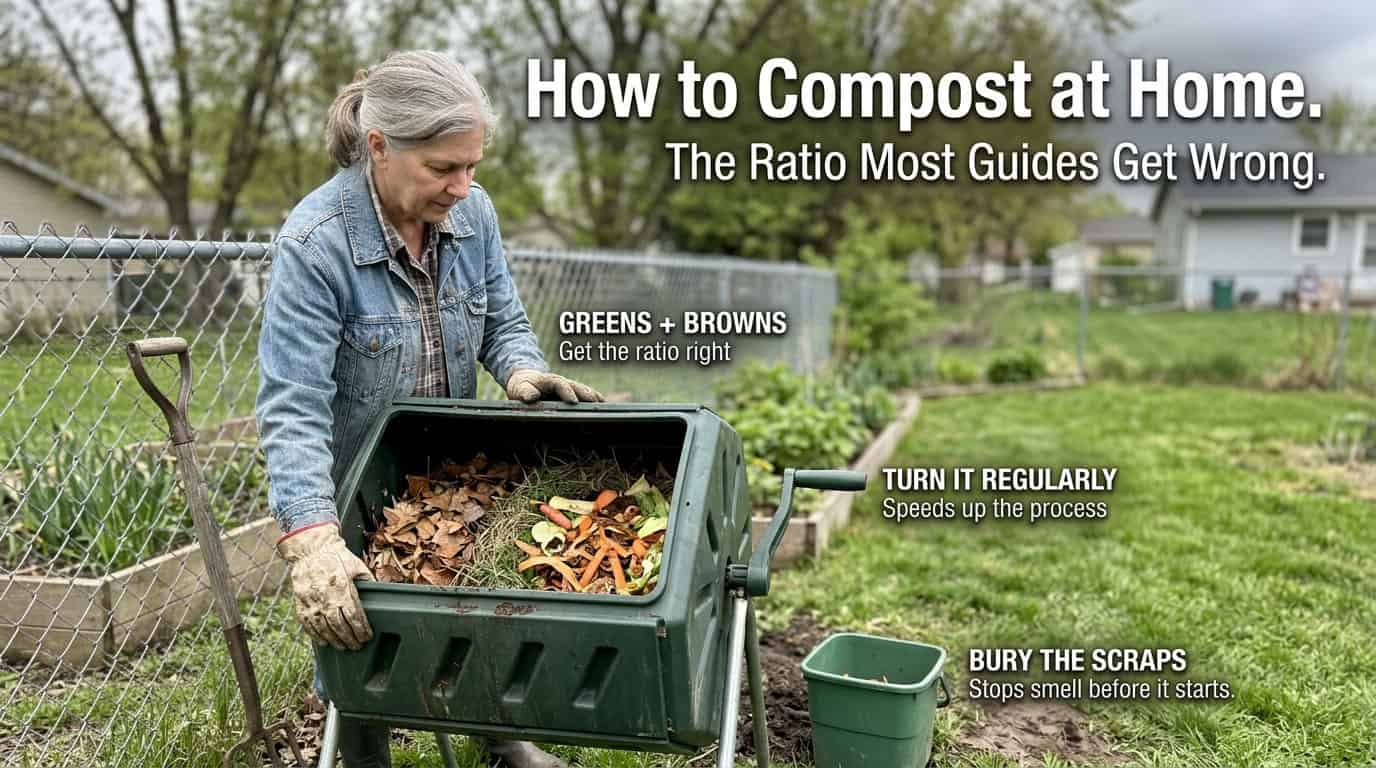
You don’t strictly need equipment to compost – a simple pile in a corner of the yard works fine for cold composting. That said, a bin keeps things tidier, deters pests, and in the case of tumblers, makes hot composting’s regular turning far less effort than doing it by hand with a pitchfork.
Outdoor Tumblers (Best for Hot Composting)
A tumbler is an enclosed drum on a frame that you rotate to mix and aerate the contents, replacing the manual turning that hot composting normally requires. Dual-chamber designs let you fill one side while the other cures, so you’re never waiting on a single batch to finish before adding new scraps.
FCMP Outdoor 37 Gallon Dual Chamber Tumbler – Best Overall / Best for Beginners
This is one of the most established tumblers on the market, with a dual-chamber design that lets one side cure while you keep loading the other. Turning it every couple of days gives you finished compost in as little as a few weeks under good conditions. The 37-gallon capacity is a sensible size for most households without becoming unwieldy to turn once it’s full.
Best for: first-time composters who want a proven, moderate-sized tumbler without a lot of extra features to figure out.
Buy it on Amazon today with FREE returns
VIVOSUN 43 Gallon Dual Rotating Tumbler – Best Value / Includes Accessories

Slightly larger than the FCMP at 43 gallons, with the same dual-chamber logic and a 360° tumbling design for full aeration. It comes bundled with a pair of garden gloves, a small but genuinely useful inclusion if you don’t already have a dedicated pair for yard work.
Best for: buyers who want a bit more capacity than the FCMP and appreciate not having to buy gloves separately.
Buy it on Amazon today with FREE returns
RSI Maze Two-Stage Compost Tumbler, 65 Gallon – Best for Large Households or Yards
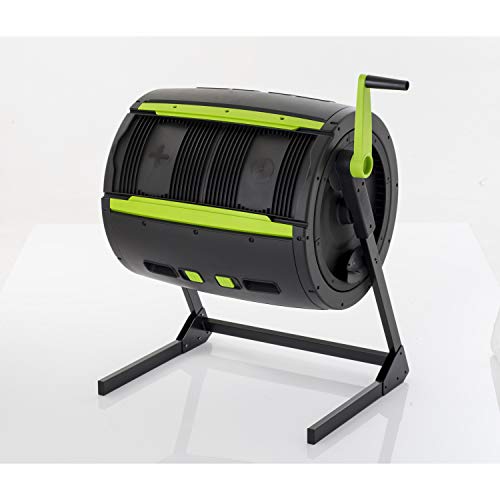
The largest tumbler here by a wide margin, and the easiest to turn even when fully loaded, thanks to a geared handle and ratchet-lock mechanism most competing tumblers don’t have. It can run as one large 65-gallon batch or be split into two independent stages. Independent testing found it takes roughly two months to fully finish a batch, longer than the smaller tumblers, which tracks with its much larger volume.
Best for: larger households, bigger yards with more yard waste to process, or anyone who’s found smaller tumblers annoying to turn once full.
Buy it on Amazon today with FREE returns
Stationary and Expandable Bins (Best for High-Volume Yard Waste)
Unlike a tumbler, a stationary bin doesn’t rotate – you build layers inside it and let it break down passively, which suits cold composting and large volumes of leaves or yard trimmings better than it suits actively managed hot composting. The VEVOR 220 Gallon Expandable Composter is a good example of this style: snap-together HDPE panels that assemble in minutes with no tools, ventilation holes for airflow, and enough capacity to handle a full fall’s worth of leaves without needing to empty it constantly. It’s not built for turning the way a tumbler is, so pair it with cold composting expectations rather than trying to hot-compost inside it.
Electric Countertop Composters (a Different Process Entirely)
Worth being upfront about: electric countertop units don’t compost the way the rest of this guide describes. Instead of microbial decomposition over weeks or months, they use high-heat drying and grinding to reduce food scraps by roughly 90% in a matter of hours. The output is sterile and needs to be mixed into soil (commonly at a ratio like 1 part output to 10 parts soil) rather than used directly as finished compost – the heat that sterilizes the material also kills the beneficial microorganisms that true compost relies on. They’re a legitimately useful waste-reduction tool for apartments or anyone without outdoor space, just not a drop-in replacement for the outdoor process above.
Food Cycler Eco 5 – Best Overall Indoor / Electric Composter
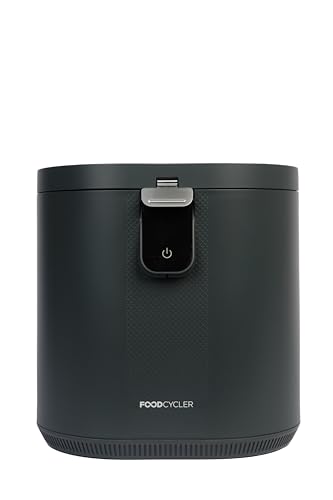
The most established option in this category, with a 5-liter capacity, a patented grinding system that handles pits, peels, and bones most competitors can’t, and a refillable carbon filter that keeps it genuinely odorless on a kitchen counter. It reduces food waste volume by up to 90% in a matter of hours, running quietly enough to use overnight.
Best for: apartment dwellers or anyone without outdoor space who wants to divert food waste from the trash, understanding the output is pre-compost that needs mixing into soil, not finished compost on its own.
Buy it on Amazon today with FREE returns
4L Electric Composter (Ouaken) – Best Budget Electric Composter
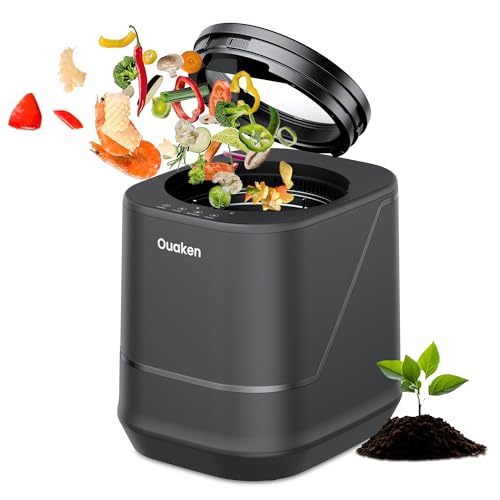
A smaller-capacity, lower-cost alternative to the Food Cycler that uses the same high-heat drying and grinding approach. It runs at a quiet noise level and includes a carbon filter for odor control, at a noticeably lower price point than the more established option above.
Best for: buyers who want to try electric composting without the higher price tag of a premium unit, and don’t need the largest capacity or the most powerful grinding mechanism.
Buy it on Amazon today with FREE returns
Step-by-Step: Building and Maintaining Your Pile
- Pick a spot. Direct soil contact (if not using a fully enclosed bin), partial sun, and reasonable drainage. Avoid full shade, which slows things down, and standing water.
- Start with a brown base. A few inches of dry leaves or straw at the bottom helps with drainage and airflow before you start layering.
- Layer greens and browns as you go. Aim for that 2-3 to 1 browns-to-greens ratio by volume, covering fresh greens with browns each time you add to the pile.
- Keep it damp, not wet. The ideal moisture level feels like a wrung-out sponge. Too dry and decomposition stalls; too wet and you get the slimy, smelly problem covered below.
- Turn regularly for hot composting. Every 1-2 weeks with a pitchfork, or every couple of days if you’re using a tumbler. Skip this step entirely for cold composting.
- Always cover fresh food scraps with browns. This single habit prevents most odor and pest problems before they start – don’t leave kitchen scraps exposed on top of the pile.
Troubleshooting
It smells bad
Almost always too much green material, or food scraps left uncovered. Add more browns and make sure every addition of kitchen scraps gets buried under dry leaves or shredded cardboard.
It’s slimy and wet
Same root cause as above – too much green material and not enough airflow. Mix in more browns and turn the pile more often to reintroduce oxygen.
Nothing seems to be happening
Usually one of three things: the pile is too small (under 3×3 feet struggles to hold heat), it’s too dry, or it doesn’t have enough greens to fuel the microbes. Check moisture first, then add more nitrogen-rich material if it still isn’t heating up.
It’s attracting pests
Exposed food scraps are almost always the cause. Bury scraps under browns every time, or switch to a fully enclosed tumbler or bin if pests remain a persistent problem in your area.
It’s too dry and not breaking down
Add water and more green material. A pile that’s gone crumbly and dusty has lost the moisture microbes need to keep working.
How Do You Know When It’s Done
Finished compost is dark, crumbly, and smells like earth – not like the materials that went into it. If you can still recognize individual food scraps, leaves, or paper, it needs more time. This is a better test than any fixed timeline, since finish time varies widely with pile size, method, and what you’re composting.
Frequently Asked Questions
Can you compost citrus and onions?
Yes, in moderate amounts. The common advice against them is largely overstated – they break down like other food scraps, just somewhat more slowly due to their acidity. Avoid dumping large quantities of either at once, but there’s no need to exclude them entirely.
Do you need a bin to compost?
No. A simple open pile works fine for cold composting. A bin or tumbler mainly helps with pests, tidiness, and – in the case of tumblers – makes hot composting’s regular turning much easier.
Can you compost in winter?
Yes, though decomposition slows significantly in cold weather since the microbes doing the work become less active. Keep adding materials through winter; the pile will pick back up once temperatures rise in spring.
How long until compost is ready?
Hot composting can finish in a matter of weeks to a couple of months with regular turning and a balanced ratio. Cold composting typically takes six months to a year with little to no maintenance.
Do I need to add worms or a compost starter?
No. The bacteria and fungi needed for decomposition are already present in soil, dead leaves, and the organic material itself. Store-bought starters and added worms can speed things up slightly but aren’t necessary to get a pile going.
Bottom Line
Get the greens-to-browns ratio right – roughly 2-3 parts browns to 1 part greens, and always bury fresh scraps under browns – and most of the problems that discourage new composters simply don’t happen. From there, the choice of hot vs. cold and tumbler vs. stationary bin vs. no bin at all comes down to how much space, time, and effort you want to put in. If your household generates plenty of food scraps but no outdoor space, an electric composter is a legitimate starting point, just remember its output needs mixing into soil rather than standing in as finished compost on its own.
Once you’ve got compost ready to use, our guide to pruning shears and loppers covers the tools you’ll want on hand as everything you feed starts growing in.