A garden hose left outside in freezing weather can split, and the water trapped inside the faucet can freeze and crack the pipe behind your wall. Both are cheap to prevent. This guide walks through seven simple steps to winterize your garden hoses and outdoor faucets, plus the few inexpensive items that make the job easier.
Quick Answer
Disconnect the hose, drain every bit of water, dry and coil it loosely, store it somewhere dry and above freezing, and protect the outdoor faucet with a cover or a freeze protector. Do all of it before the first night that is forecast to drop below 32 F (0 C).
When to Winterize Your Garden Hose
Aim to do this in the fall, before the first hard freeze. A good rule is to start once nights are forecast to approach freezing. In cold climates that is often October or early November. In mild climates where freezes are rare, you can leave a hose out but still disconnect it and cover the faucet during a cold snap.
What You Need
- A faucet cover or freeze protector (see Step 5)
- A wall-mount or freestanding hose holder, or a reel (see Step 7)
- Gloves, a dry towel and a few spare rubber hose washers
- A place to store the hose that stays above freezing, such as a garage, shed or basement
Step 1: Disconnect the Hose From the Faucet
Turn the water off at the faucet, then unscrew the hose. Remove anything attached to the ends too, such as spray nozzles, splitters, timers and sprinkler heads. Water left in these parts freezes and can crack them. If your faucet has an indoor shut-off valve, close it after the outdoor faucet is off.
Step 2: Drain the Hose Completely
Lift one end of the hose to shoulder height and walk toward the other end, letting the water run out. Then lay the hose on a slope or over a railing so the last water drains. Even a small amount of water left in the hose can freeze, expand and damage the hose or its fittings.
Step 3: Drain the Faucet and the Line
With the indoor shut-off closed, open the outdoor faucet so water in the pipe can drain out. Leave it open until you are ready to cover it. If you have a frost-free faucet (a long-stem faucet that shuts water off inside the heated part of the house), the hose still has to come off, or water stays trapped in the faucet and can freeze.
Step 4: Clean and Check the Hose
Wipe off dirt, check for cracks, bulges and leaks, and look at the rubber washers inside the couplings. Replace any washer that is flat, cracked or missing, because they cost very little. If the hose has split or kinks that will not come out, it is better to replace it now than to find out in spring. A kink-free option like the 200 PSI kink-free PVC hose is a low-cost replacement.
Step 5: Protect the Outdoor Faucet
This is the step that protects your plumbing. There are two kinds of protection, and they work differently.
Insulated faucet covers
These slip over the faucet and trap heat from the wall. A basic plastic dome like the Thermwell Frost King FC2 costs under $7, and a fabric cover like this 420D Oxford winter faucet cover costs about the same and is easier to fit over larger faucets. They work well for most freezes, but they are insulation only, so in extreme cold they cannot add heat.

Temperature-activated freeze protectors
The Freeze Miser is a different kind of product. According to the listing, it screws onto the faucet and activates when the water temperature drops below 37 F, releasing a small amount of water to help keep the faucet from freezing. You install it by hand, with the faucet left open. It costs more than a cover (about $30 for one), but it is useful for faucets that are exposed to cold wind or sit on an uninsulated wall. Because it works by letting a little water out, check the listing to see how it is meant to be used before you install it, and do not leave a hose attached.

If you are not sure which to use, a cover is enough for most mild to moderate climates, and a freeze protector is worth it in colder or windier areas.
Step 6: Coil the Hose Loosely
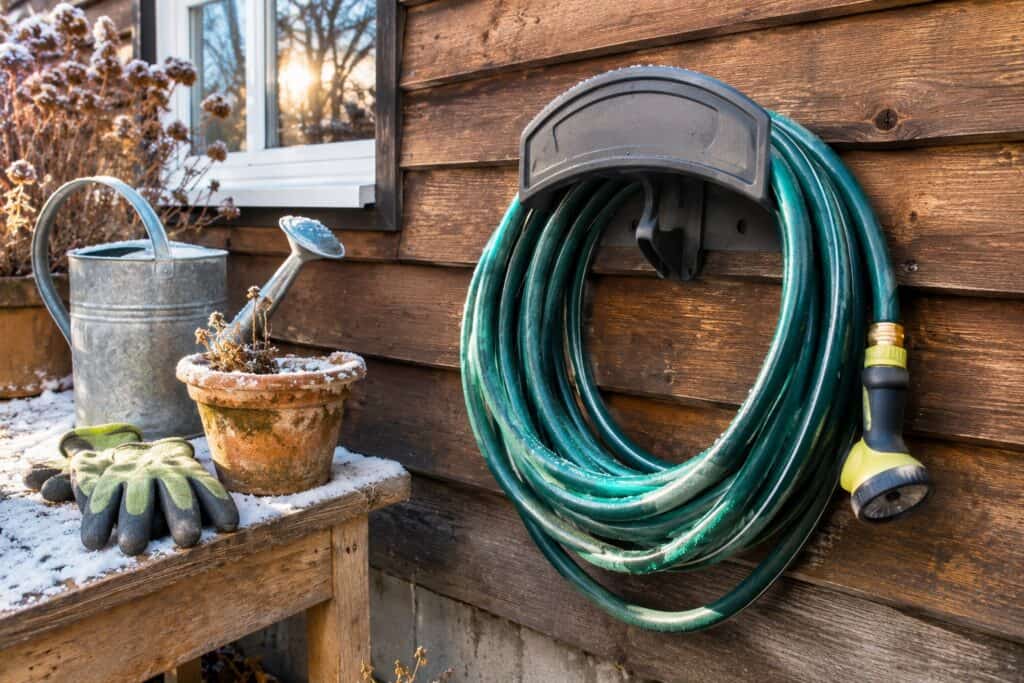
Coil the hose in wide loops. Tight bends and sharp kinks weaken the hose and cause leaks over time. Do not hang it from a nail, because that creates a sharp bend that can crack in the cold.
Step 7: Store the Hose Out of the Freezing Weather
Store the hose in a garage, shed, basement or covered porch that stays above freezing. A hose holder keeps it off the floor and out of the way, and it keeps the coil neat so it does not kink.
- Budget wall mount: a heavy-duty wall-mount hose holder costs about $10 and is rated 4.7 stars from nearly 1,800 reviews.
- Freestanding: this hose holder with a stable base and tool hooks does not need drilling and has room to hang a few tools.
- Reel: if you use your hose a lot, a VEVOR retractable garden hose reel makes storage easy, though it costs more and has more moving parts to keep dry.

Special Cases
Expandable hoses
Drain these completely and store them indoors. Their thin inner tube is easy to damage if water is left inside when it freezes.
Drip and soaker lines
These need winterizing too. Drain the lines and remove the pressure parts if your system calls for it. Our guide to drip irrigation vs soaker hoses explains how each system works.
Heavy-duty or lightweight hoses
Rubber and heavy-duty hoses tolerate cold better than cheap vinyl, but they still must be drained. If you want a lighter hose that is easier to handle, see our guide to lightweight garden hoses for seniors.
Mild climates
If freezes are rare, disconnect the hose and cover the faucet only when a cold night is forecast.
End-of-Season Garden Tasks
While you are putting things away, it is a good time to clean and sharpen your tools. Our guide to sharpening pruning shears and our picks for pruners and loppers will help, and leaves and trimmings can go into the compost pile, as we explain in how to compost at home. A tool belt keeps small tools handy while you work.
Spring Check Before First Use
- Remove the faucet cover or protector and check the faucet for drips.
- Inspect the hose for cracks and replace worn washers.
- Turn the water on slowly and check for leaks at the connections.
FAQ
Can I leave my garden hose outside in winter?
It is best not to. Water inside the hose can freeze and split it, and a hose attached to the faucet can trap water in the pipe. In very mild climates you can leave it out, but disconnect it during freezing nights.
Will a garden hose freeze if I drain it?
A fully drained hose is much safer, but a little leftover water can still freeze. Drain it fully, then store it somewhere dry.
Do I need to cover a frost-free faucet?
A frost-free faucet is designed to shut water off inside the warm part of the house, but the hose must still be removed. A cover adds a little extra protection in very cold areas.
How do I drain a very long hose?
Start at the faucet end and lift the hose in sections, working the water toward the open end. Or lay the hose on a slope and let gravity do the work.
What temperature does a garden hose freeze at?
Water freezes at 32 F (0 C), but a hose can freeze when the temperature stays at or below that for several hours. Wind and a cold wall can make it freeze faster, so do not wait for a hard freeze.
Bottom Line
Winterizing a hose takes about 15 minutes: disconnect, drain, coil, store and cover the faucet. If you buy only one thing, make it a faucet cover (under $7), then add a wall-mount hose holder for storage. If your faucet is in a cold, windy spot, consider the Freeze Miser as well.
Cleaning gear before storing it? See our guide to the best electric pressure washers for small yards, and drain the pump before freezing weather.
Preparing for snow too? See our best snow shovels and electric snow blowers for small driveways.