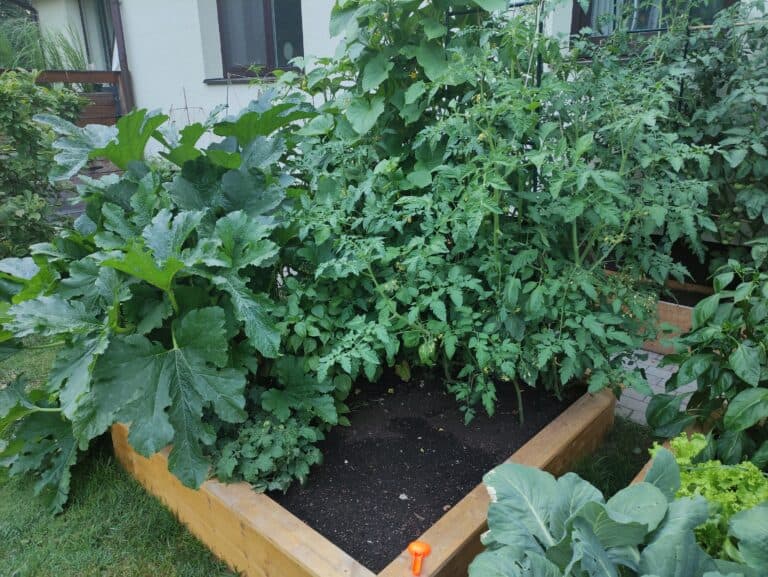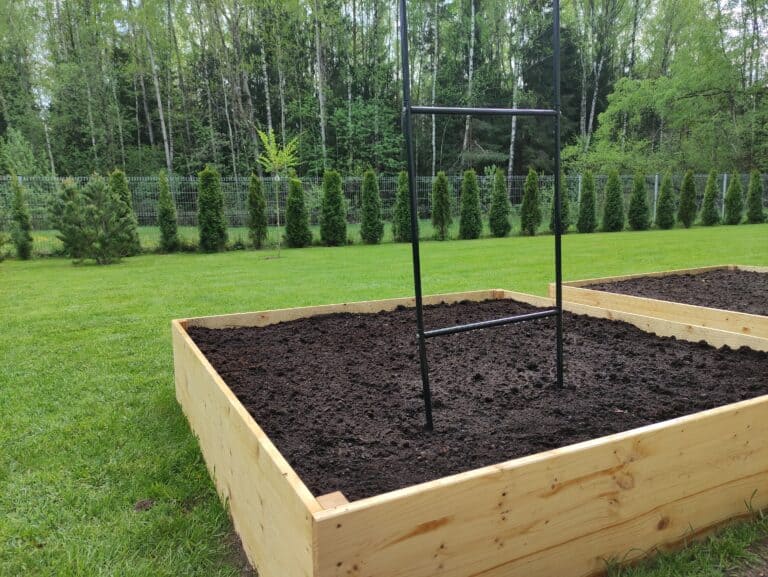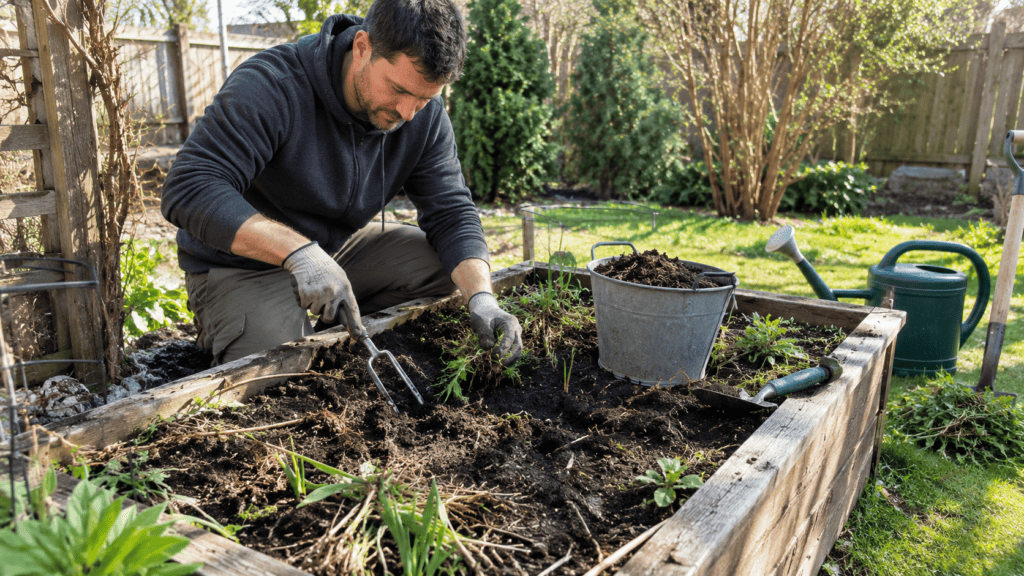
Spring prep is one of the easiest ways to get more from a raised bed without replacing all of the soil. A good reset removes winter debris, fixes settling and drainage problems, refreshes organic matter, checks pH, and gets irrigation ready before seedlings and transplants go in.
The key is not to overdo it. Established raised beds usually do not need to be emptied, deeply tilled, or filled with bags of fresh potting mix every spring. In most cases, you are improving the top layer and correcting specific problems rather than rebuilding the bed from scratch.
If you are still choosing a bed, start with our guide to the best raised garden beds for beginners. If your bed is already built, use the steps below as a practical spring checklist.
Quick Spring Raised Bed Checklist
- Wait until the soil is workable, not frozen or waterlogged.
- Remove dead annual plants, weeds and diseased debris.
- Check boards, corners, fasteners and drainage.
- Loosen compacted areas without aggressively turning the whole bed.
- Test soil pH and, when needed, nutrients.
- Add compost or other organic matter based on the condition of the soil.
- Top up settled soil if the level has dropped.
- Plan crop placement before planting.
- Check your hose, soaker hose or drip system for leaks and clogs.
- Mulch after planting when the soil has started to warm.
When Should You Prepare a Raised Bed for Spring?
Start when the soil is no longer frozen and has drained enough to crumble rather than smear in your hand. Working very wet soil can damage its structure and create compaction that lasts well into the growing season.
Raised beds often warm earlier than the surrounding ground because more of the soil is exposed to spring air and sun. That can give you an earlier start, but it does not mean the bed is ready the first warm afternoon of the year. Check the soil itself.
A simple test is to squeeze a handful of soil. If it stays as a wet, sticky lump and smears when you press it, give the bed more time. If it breaks apart easily, you can usually begin light preparation.
1. Remove Winter Debris and Old Plants
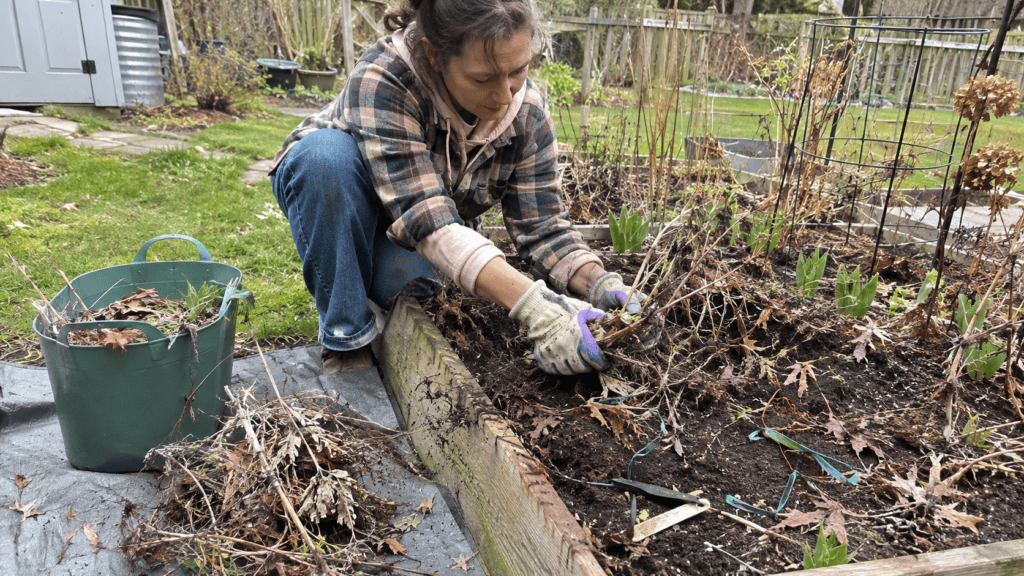
Begin by clearing the surface. Remove dead annual stems, fallen leaves that have formed a thick wet mat, old plant ties, broken labels and obvious weeds.
You do not need to make the bed sterile. A thin layer of partly decomposed organic material can be useful, but thick mats can make spring soil slower to warm and can hide weeds or pests.
Healthy plant material can go into your compost. Avoid adding badly diseased material unless you know your composting system reaches temperatures that will reliably destroy the pathogen. If you are building or improving your compost system, see our guide to composting at home.
2. Inspect the Raised Bed Before You Touch the Soil
Winter moisture, freeze-thaw cycles and settling can expose problems that were not obvious in summer. Walk around the whole bed before you add anything.
Check the frame
- Tighten loose screws or brackets.
- Look for bowed boards.
- Check wooden corners for soft or rotten areas.
- Make sure metal beds have not shifted or developed sharp exposed edges.
- Repair supports before the bed is full of actively growing plants.
Check the soil level
Raised-bed soil settles over time as organic matter decomposes and particles move into air spaces. A noticeable drop in soil level is normal. Do not automatically fill the missing volume with compost alone; a balanced soil mix is usually better for a large top-up.
Check drainage
If water sits in the bed for long periods after rain, investigate before planting. Compacted soil, blocked drainage openings, a hard base or a low spot around the bed can all contribute. Raised beds should drain well, but beds on concrete or other hard surfaces need especially good drainage.
3. Pull Weeds While They Are Small
Spring weeds are much easier to remove before they establish deep roots. Pull the entire root where possible, especially perennial weeds.
Try not to churn the whole bed just to remove a few weeds. Every time you aggressively disturb soil you can bring buried weed seeds closer to the surface where light and warmth may trigger germination.
A hand tool is usually enough for this job. For tight spaces and shallow cultivation, a sturdy garden trowel is useful; see our best garden trowels guide if you need one.
4. Test the Soil Before Adding Lime, Sulfur or Lots of Fertilizer
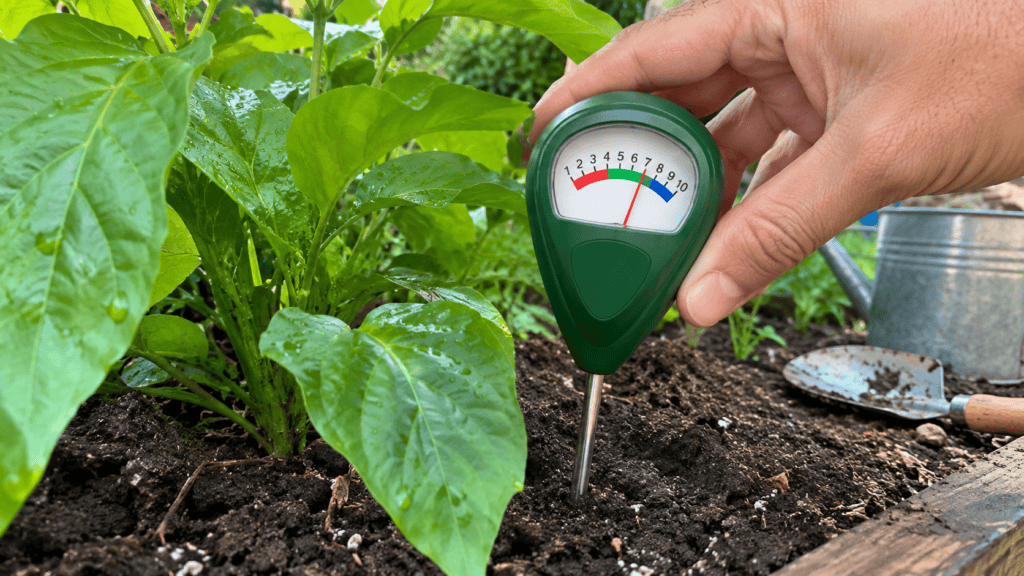
It is tempting to add amendments every spring because they sound beneficial. That can create nutrient imbalances over time.
For many vegetables, a soil pH in roughly the low-to-upper 6s is a useful target, but individual crops vary. If you had poor growth last season, repeated nutrient problems, or you are thinking about adding lime or sulfur, test first.
A home meter or test kit is convenient for a quick pH check. Our soil pH tester guide compares practical options. For important nutrient and amendment decisions, a laboratory soil test is more reliable because it can measure more than pH and give specific recommendations.
Do not add lime simply because it is spring. Lime raises pH, so it only makes sense when the soil test shows that your soil is too acidic for what you plan to grow. The same principle applies to sulfur, which is often used to lower pH.
5. Refresh the Soil With Compost
For an established raised bed with reasonably good soil, compost is usually the most useful spring amendment. It adds organic matter and supports a loose, workable structure.
The University of Maryland Extension recommends adding about 2 to 4 inches of compost to an existing raised bed when the soil is in good condition, then incorporating it into roughly the top 4 inches. You do not necessarily need the full amount every single year; use the condition of your soil and soil-test results to guide how much you add.
Too much compost is not automatically better. Repeated heavy applications, especially of manure-based composts, can push phosphorus and salts too high. Plant-based compost is often a safer routine choice when you are simply refreshing organic matter.
If you make your own compost, screen out large woody pieces before using it as a fine top layer. Larger unfinished pieces can continue decomposing in the bed, but they are better suited to mulch or a compost pile than the immediate seed zone.
6. Top Up a Bed That Has Settled
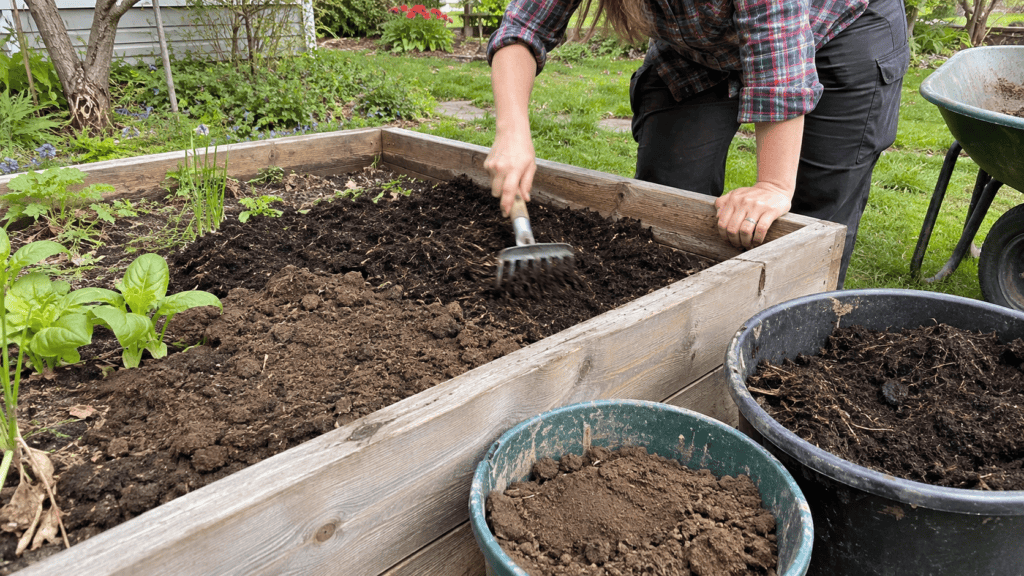
If the bed has lost several inches of volume, compost alone may not be enough. A large top-up should include mineral soil as well as organic matter.
University of Minnesota Extension suggests raised-bed soil built around roughly one-half to two-thirds topsoil and one-third to one-half plant-based compost. That is a useful starting point when you need to replace substantial lost volume.
Avoid filling a deep outdoor raised bed entirely with lightweight potting mix. Potting mix works very well in containers and seed trays, but it can dry too quickly in a full-size raised bed and becomes expensive when used at that scale.
After topping up, leave a little space below the top edge of the bed. This helps keep irrigation water and mulch from washing over the sides.
7. Loosen the Surface Without Destroying the Soil Structure
If the surface has crusted or compacted, use a garden fork or hand cultivator to gently loosen the top few inches. You do not need to invert the entire bed.
Minimum-till or no-till management has a practical advantage in raised beds: you preserve established soil structure and disturb fewer buried weed seeds.
If you find a genuinely hard layer, work that specific area rather than automatically digging every square foot. One of the benefits of raised beds is that you should not need to walk on the growing area, so major compaction should be less common.
8. Decide What Will Grow Where Before Planting
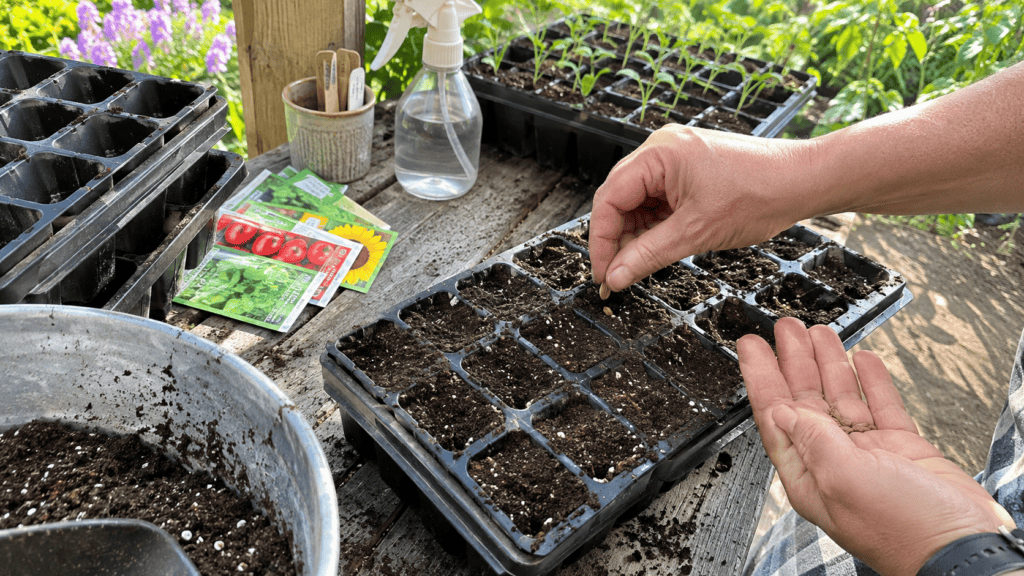
Spring preparation is easier when you already know the main crops going into the bed. Plant height, spacing and support needs can change how you prepare it.
- Tomatoes: decide where supports or cages will go before roots fill the bed.
- Peas and beans: install trellises early so you are not driving supports through mature roots later.
- Leafy greens: reserve accessible areas for repeated harvesting.
- Root crops: remove stones and hard clods from the planting zone.
- Heavy feeders: use soil-test results and crop recommendations rather than guessing at fertilizer rates.
If tomatoes are part of your plan, our tomato cage guide can help you choose support before planting.
9. Check the Watering System Before the Bed Is Full of Plants
Raised beds can dry out faster than in-ground beds, so spring is the right time to test irrigation.
Connect the hose and run the system before planting. Look for:
- split or cracked hose sections;
- leaking connectors;
- blocked emitters;
- areas that stay dry while others become saturated;
- water pressure that is too high or too low.
A soaker hose works well when you want slow watering along a bed. If you are unsure whether the bed actually needs water, a soil moisture meter can be a useful second check alongside simply feeling the soil with your fingers.
Do not water on a fixed schedule without checking conditions. Weather, soil texture, crop size and plant maturity all change water use.
10. Add Mulch at the Right Time
Mulch helps reduce evaporation, suppress weeds and keep soil from splashing onto leaves. But a thick layer applied very early can also keep cold spring soil cooler.
Prepare and plant the bed first, then mulch once the soil has warmed enough for the crops you are growing. Keep mulch a little away from plant stems to avoid creating a constantly wet collar around them.
Suitable materials include clean straw, shredded leaves, leaf mould and other weed-free organic mulches. Choose material that fits the crop and your local conditions.
What Should You Not Add to a Raised Bed Every Spring?
Large amounts of manure
Composted manure can be useful, but repeated heavy use may build phosphorus and salts. Add it based on actual need rather than as an automatic yearly step.
Fresh wood chips mixed into the planting zone
Wood chips are useful as surface mulch or path material. Mixing a large volume of fresh woody material directly into the root zone can temporarily tie up available nitrogen as it decomposes.
Sand as a quick fix for clay
A small amount of appropriate coarse material can be part of a designed soil mix, but simply dumping a few bags of sand into heavy clay does not reliably create good garden soil. Organic matter and a balanced soil mix are more useful approaches.
Fertilizer without a reason
More fertilizer does not guarantee more growth. Excess nutrients can damage plants and wash out of the bed. Follow a soil test or crop-specific recommendation.
New Raised Bed vs. Established Raised Bed
| Task | New bed | Established bed |
|---|---|---|
| Check structure | Confirm level, drainage and dimensions | Repair loose, bowed or rotten parts |
| Soil | Fill with a balanced topsoil/compost mix | Top up only what has settled |
| Compost | Part of the initial mix | Refresh based on soil condition |
| Soil test | Especially useful if using native soil | Useful before major amendments |
| Tillage | Loosen the underlying soil if needed | Use minimum disturbance |
| Irrigation | Install before planting | Inspect and flush existing lines |
A Simple Spring Timeline
2 to 4 weeks before planting
- Inspect the bed and make structural repairs.
- Clear debris and perennial weeds.
- Take a soil sample if testing is needed.
- Top up major soil loss.
1 to 2 weeks before planting
- Add compost or recommended amendments.
- Gently loosen compacted areas.
- Set up trellises and supports.
- Test irrigation.
Planting week
- Rake the surface level.
- Plant seeds or transplants at the correct spacing.
- Water thoroughly.
- Add mulch when appropriate for the crop and soil temperature.
If you are starting vegetables indoors before the bed is ready, see our guides to seed starting mix and seed starting trays.
Frequently Asked Questions
Do I need to replace raised-bed soil every year?
No. In a healthy established bed, you normally refresh and top up the soil rather than replacing all of it. Full replacement is more appropriate when there is contamination, severe drainage failure or another major soil problem.
How much compost should I add in spring?
For an existing bed that needs organic matter, 2 to 4 inches is a common extension recommendation. Use less when the bed already has high organic matter or a history of heavy compost applications, and follow soil-test guidance where possible.
Should I till a raised bed?
Usually not deeply. Raised beds are designed to avoid foot traffic and major compaction. Lightly loosen problem areas and the upper layer when necessary rather than turning the entire bed every season.
Should I add fertilizer before planting?
Only when the soil or crop needs it. Compost is not the same as a complete fertilizer, and different vegetables have different nutrient demands. A soil test is the best basis for larger amendment decisions.
When should I start watering the bed in spring?
Water when seeds, transplants or actively growing plants need it. An empty bed does not need to be kept constantly wet. Once planted, check moisture below the surface rather than judging only by how dry the top looks.
Can I use last year’s soil?
Yes. Healthy raised-bed soil is meant to stay in place. Remove weeds and diseased debris, correct settling, refresh organic matter as needed and reuse it.
Bottom Line
Preparing a raised garden bed for spring is mostly about correcting what winter changed. Clear the surface, repair the frame, check drainage, test before making major pH or fertilizer changes, refresh the soil with compost where needed, and get watering equipment ready before planting.
Avoid the temptation to rebuild a healthy bed every year. A lighter approach—good compost, minimal soil disturbance, sensible testing and consistent watering—usually gives you a better starting point for the season.